A busted single pane window — whether cracked or shattered — may not seem like the worst, but you do let yourself get lazy about it and let those free breezes or pesky bugs in, and it becomes a big headache. And, if within easy reach, it’s a blatant security hole. Getting it fixed promptly also can help keep your energy costs from creeping up, even if single-pane glass isn’t the gold standard for insulation in the first place.
It’s not just about temperature and electricity bills, though. Broken glass is a hazard for everyone — children, pets, even random passersby. We certainly don’t want to end up injured from leftover bits. So, although single-pane windows aren’t comparable to today’s multi-pane units, repairing them quickly prevents you from having to deal with more serious (and expensive) problems later.
Tools and Materials:
- Putty knife
- Pliers
- Putty
- Sealant
- Notebook, pencil and gold pen on leather gloves and safety glasses
- Carpenter’s knife
- Putty pins
- Sandpaper
- Wood filler (useful for patching small dings or cracks in the frame)
Key Takeaways
- DIY cost: $25–$50 per window in glass + glazing materials. Pro service $80–$200. Local glass shops often 30–50% cheaper than big-box stores.
- 6-step DIY: remove old glass + glazing → clean rabbet → measure 3-point + subtract 1/8″ → order glass → bed on glazing tape + glazier’s points → glaze perimeter at 45°.
- Energy reality: single pane U-1.0–1.1 vs double pane U-0.30. Single-pane homes spend 30–40% more on heating.
- Replace whole window when: long-term owner (7–12 yr payback), home in cold climate, frame already shows rot. Storm window add-on ($150–$400) is the historic-home alternative.
- Glazing cure: putty needs 7–14 days before painting — don’t rush this or the paint cracks within months. Plan timeline accordingly.
Preparation
Before getting out your putty knife, take a look at the condition of the window frame. If there’s some significant rot or water damage, you’ll want to tackle that first. A little wood filler can work wonders, but if it’s worse than that, it may be time for a more significant repair, such as our Window Sill Repair service. Note: a broken frame and a new glass pane is like patching a flat tire with chewing gum.
Measuring and Ordering the New Glass
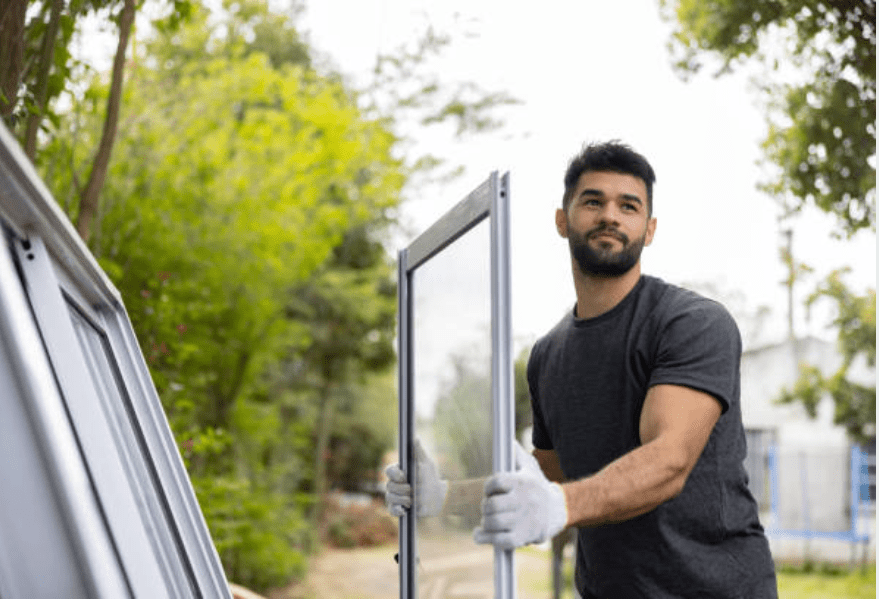
Thickness can be a little tricky, particularly in old homes. Although the vast majority of single panes have a standardized thickness, there are older windows that may not. When in doubt, it doesn’t hurt to take a small piece of the old glass with you when you’re shopping. Some people also choose tempered or coated glass for an extra measure of safety or low-key energy efficiency. Yes, it’s more expensive, but it can spare you some future headaches.
Installing the New Glass
Carefully slide in your new pane, and tack it in with putty pins—typically two per side is sufficient to hold the tension evenly. If it’s not sliding right in, don’t force it. A gentle push works most of the time. The last thing you want is to cause your freshly purchased glass to crack by getting a little over-enthusiastic.
Applying the Putty
For a smooth finish, lightly moisten your fingertip or putty knife. That way you can form the putty into a nice, angle bead that directs water away from the frame. Just keep in mind, if you used latex putty, move a little faster — it can firm up faster than you think.
Finishing the Job
It’s a clever thing to inspect your work a few days later. If you see any hairline gaps or pinholes in the putty, smooth the putty, or sealant, over them, and check. That extra bit of mindfulness can help you avoid bigger headaches — like trailing moisture or drafts — later on.
Provide post-repair inspection and maintenance checklist
After your new glass is in place and the putty has cured you may want to add a simple inspection to your home care routine. Checking in from time to time can help you catch problems as they arise:
-
Look for teeny gaps: On a windy day, run your hand around the pane’s perimeter. If you feel a draft, reapply putty or sealant.
-
Check for Moisture Buildup: If you notice condensation, or streaks, on the interior of the window frame, it could indicate an inadequate seal or a hidden leak.
-
Check the Frame Finish: Early signs that the frame may need a refresh (or more extensive repairs) are flaking paint or peeling wood.
A two-minute once-over each season can save you a headache later on, and keep your window looking sharp.
Why You Should Leave It to the Pros
Let’s be honest: there’s a point at which a DIY patch turns into a DIY disaster — especially if it’s a window that’s an unusual shape, multiple panes, or if the wooden structure is really warped. You can save a few bucks on the front end doing it yourself, but if something goes sideways, you could end up spending more in the long run. By hiring a professional — such as the pros at Window Gurus — you are assured that the job is done right, with all the stops pulled.
Sure, single-pane replacements are doable for many handy types, but for anything more complicated, you’ll be glad to have someone with the right tools and expertise. It’s not just a matter of inserting a pane of glass; it’s about making sure that glass stays put, seals out drafts and stands up to whatever weather your region dishes out. And they can recommend energy-efficient or state-of-the-art solutions if your windows are past their prime.
In Conclusion
Now you’ve got the essentials for replacing a busted single pane yourself. If you’re feeling confident, that’s great — just remember to prioritize safety and take your time. But if you’d like to avoid the gamble or have encountered a sticky situation, Window Gurus is just a call or online chat away. They’ve tackled everything from your basic panes to huge, custom windows that require a little pro touch.
Nobody wants to spend their weekend cleaning up shards of glass or futzing with a resistant putty. Passing the baton to an experienced team ensures a streamlined solution that won’t have you second-guessing every move. Because a well-installed window doesn’t just look good — it helps keep your home nice and toasty, safe from the elements and a whole lot more comfortable. So, don’t be shy. Call the pros and cross that annoying window repair off your to-do list.
Frequently Asked Questions
Quick answers to common reader questions, drawn directly from real search intents.
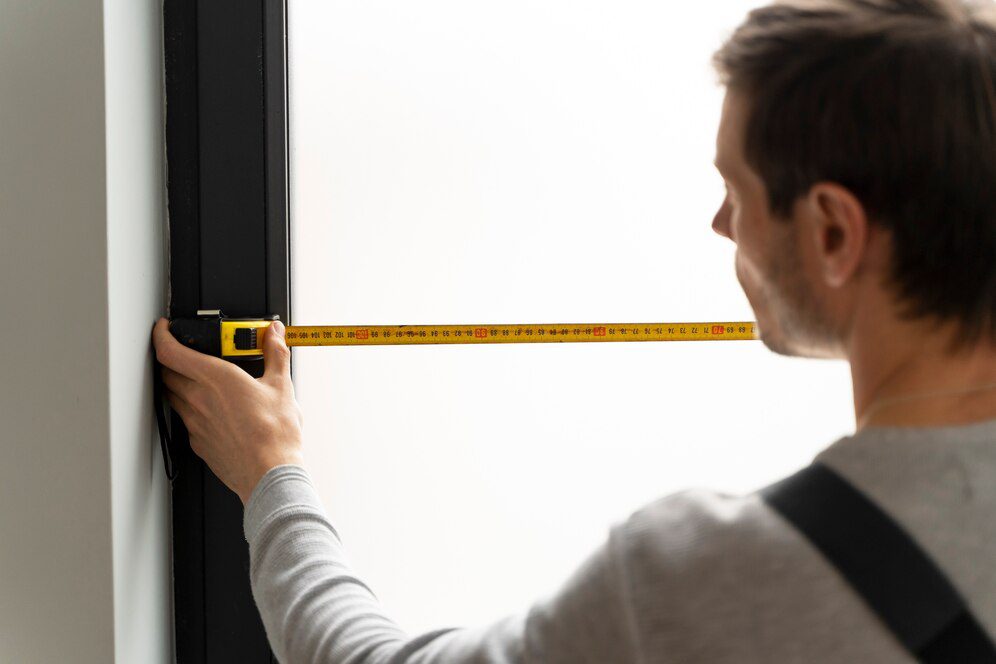
Six steps: (1) remove glass remnants and old glazing compound with a putty knife and gloves; (2) clean the rabbet (channel) with a wire brush; (3) measure the opening width and height at three points each, subtract 1/8″ for clearance; (4) order glass cut to that size from a glass shop; (5) bed the new pane on glazing tape or a thin layer of glazing compound, secure with glazier’s points every 4–6″; (6) apply glazing compound around the perimeter, smooth at 45°, paint after 7–14 days of cure.
DIY: $15–$40 for the glass + $10 in glazing supplies = $25–$50 total per window. Professional: $80–$200 per window for standard sizes. Stained glass or specialty shapes: $150–$500. Prices roughly double for windows over 24″×36″ because the glass becomes harder to handle. Local glass shops typically beat home-improvement-store pricing 30–50% for standard window glass.
A single pane window has just one layer of glass between the inside and outside, with no insulating air gap. Common in homes built before 1980 (or in older outbuildings), single panes have a U-value of 1.0–1.1, meaning they lose heat 3–4× faster than modern double-pane windows (U-0.30). They’re cheap to replace ($15–$40 in glass) but inefficient to keep — heating costs in a single-paned home run 30–40% higher than the same home with double-pane windows.
For new installation in an existing rough opening: shim the frame plumb and level (use a 4-foot level), secure with screws through the side jambs (NOT through the head jamb), apply foam insulation around the perimeter (low-expansion only — high-expansion will bow the frame), then trim out the interior. Total time: 90–180 min. For replacement of just the glass in an existing single-pane sash, see the previous question for the 6-step process.
For long-term homeowners: yes — payback on energy savings is typically 7–12 years. For sellers planning to move within 3–5 years: depends on local market, since you usually recover only 60–80% of window replacement cost in resale. For historic homes: maintain the original single-pane sash for character, add a quality storm window for energy ($150–$400 each) — keeps the look and improves performance to near-double-pane levels.
DIY glass-only replacement: 60–120 minutes per window (excluding paint cure). Professional service: typically 30–60 minutes once on-site, but you’ll wait 2–7 days for the glass to be cut. Full window replacement (whole frame + glass): 2–4 hours per window for a pro, including removal, install, and trim. Glazing compound takes 7–14 days to fully cure before painting — plan accordingly.

Ready to fix your windows? Get a free quote in 30 seconds.
Family-owned, licensed & insured. Free, no-obligation quotes.