


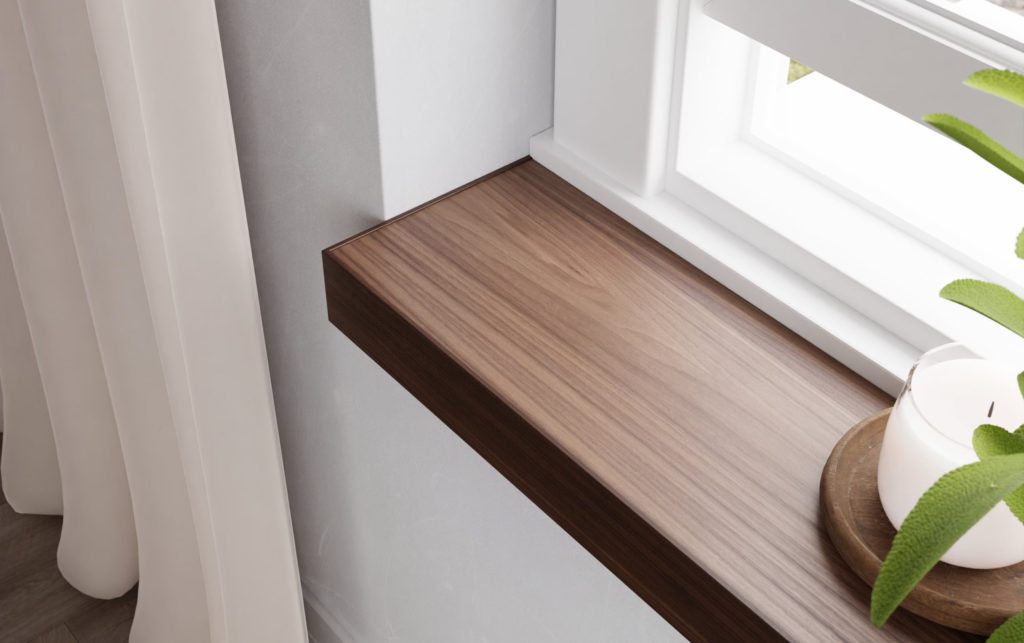
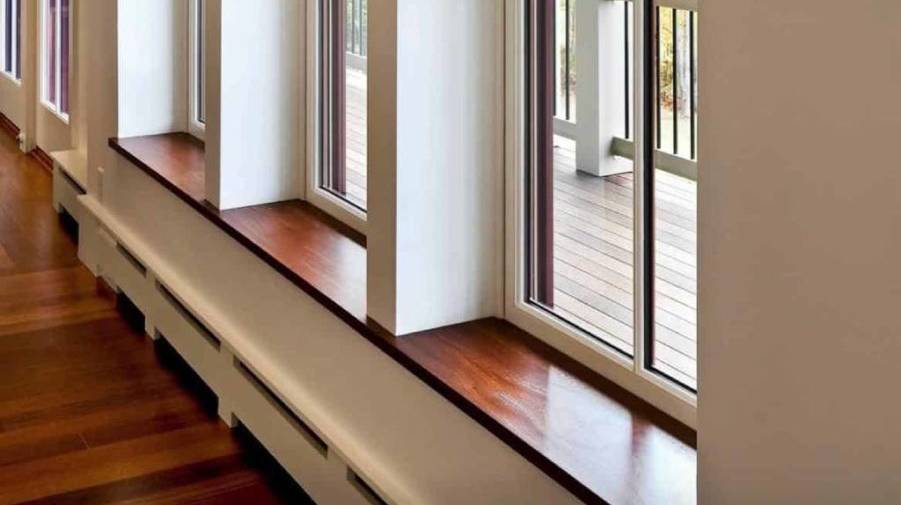
Wooden window sills are classic, beautiful, and, well, prone to damage. Over time, exposure to the elements, moisture, and general wear can take a toll on these sturdy fixtures. But don’t worry, repairing a damaged window sill is easier than you might think! With a little know-how, a few tools, and some patience, you can restore that window sill to its former glory. This guide will walk you through every step of the process, from understanding the causes of damage to giving your window sill a fresh coat of paint. Let’s dive in!
Key Takeaways
- Repair vs replace rule: rot under 30% surface area = epoxy repair, anything more = sill replacement.
- DIY cost: $40–$80 in materials (epoxy consolidator + filler + paint) for ~5 hours over 2 days.
- Pro cost in Columbus, OH: $250–$500 epoxy repair, $400–$900 full sill replacement.
- Prevention: borate preservative + oil primer + 100% acrylic paint extends life 10–15 years; recaulk annually.
- Hidden risk: always probe under paint — Ohio freeze-thaw cycles hide rot perfectly until structural failure.
Common Causes of Damage to Wooden Window Sills
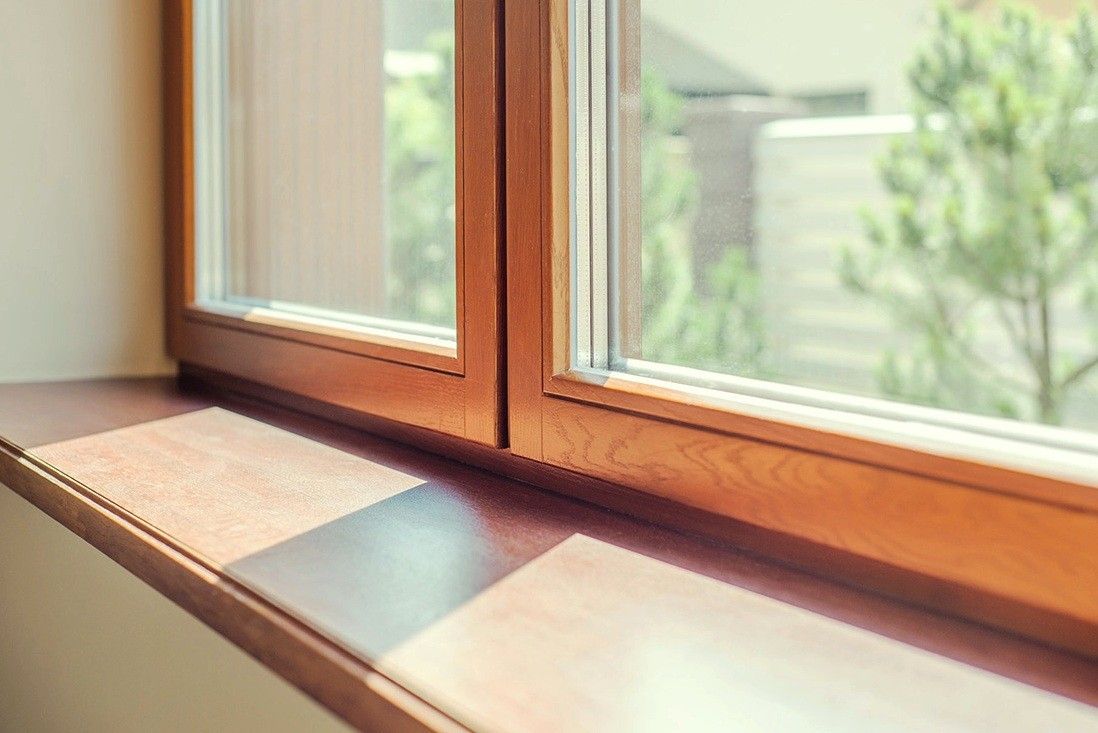
- Moisture Exposure. Water, whether it’s from rain, humidity, or spilled plant water, can be incredibly damaging to timber. Over time, moisture seeps into the wood, causing it to warp, crack, and ultimately rot. If your window ledge isn’t sealed effectively, the wood will absorb all that moisture like a sponge, leading to deterioration.
- Temperature Changes. Constant temperature fluctuations, from the heat of the summer to the chill of winter, can cause wood to expand and contract. This ongoing cycle of stretching and shrinking weakens the structure and leads to cracks and splits. It’s like how your favorite pair of jeans stretches out after too many meals—eventually, they just don’t fit the same way.
- Exposure to the Sun. UV rays can be a silent killer for wooden frames. When the sun beats down on your sill day after day, it dries out the wood, causing it to lose its original color and become brittle. The once vibrant wood can fade and crack, leaving your ledge looking tired and worn out. Over time, the wood starts to look a little too sun-kissed, but not in a good way!
- Neglect and Wear. Sometimes, it’s just the lack of care that causes problems. If your window sill hasn’t been regularly cleaned or maintained, dust, dirt, and debris can wear down the surface. This slow buildup allows moisture and other damaging elements to do their work, leading to more serious issues down the line. A little TLC goes a long way in preventing major repairs.
Signs Your Window Sill Needs Repair
- Visible Cracks or Splits. If you notice any cracks or splits running along the wood, it’s a sign that the sill has already started to weaken. These cracks might be small at first, but they can grow larger over time. If left untreated, they can lead to structural damage, making the sill less effective at keeping moisture out.
- Soft or Spongy Wood. One of the clearest signs of water damage is soft, spongy wood. If you press your fingers into the sill and it feels mushy or gives under pressure, you’re probably dealing with rot. This is a major concern, as the wood is no longer structurally sound and will need to be replaced or repaired. Soft wood is a big red flag.
- Faded or uneven color is another indicator that your window sill has seen better days. Whether it’s sun fading or water stains, discoloration is a warning that the surface has been compromised. Sometimes the wood may even start to darken or form patches—definitely time for a touch-up.
- Mold or Mildew Growth. Mold and mildew thrive in damp, poorly ventilated areas. If your window sill has been exposed to moisture for too long, you might notice black or green mold spots. Not only is this unsightly, but it’s also a sign that your window sill is in bad shape and could be harboring long-term damage. The presence of mold is also a health concern!
Tools and Materials You’ll Need for the Job
Here are the basic tools you’ll need to get the job done:
- Hammer: For any nails that need to be removed or driven in.
- Utility Knife: Ideal for removing damaged wood or cutting away old filler.
- Putty Knife: For spreading wood filler or caulk.
- Sanding Block or Power Sander: To smooth out rough edges and prep the surface.
- Paintbrush: For applying the final coat of paint or stain.
These are the materials you’ll need to complete the repair:
- Wood Filler or Epoxy: To fill in cracks, holes, and damaged areas.
- Wood Primer: Prepares the surface for paint or stain.
- Paint or Stain: Aesthetic finishing touch that protects the wood.
- Sealant or Caulk: Helps prevent moisture from getting in and causing further damage.
- Sandpaper (Medium and Fine Grit): For smoothing out the repaired areas.
Step-by-Step Guide to Repairing a Damaged Wooden Window Sill
- Assess the Damage. The first step is to take a close look at the damage. Determine how deep the cracks go, whether the wood is soft and spongy, or if there are sections that need replacing. Don’t skip this step—knowing the extent of the damage will help you figure out the best approach for repairs.
- Remove Any Old Paint or Finish. If there’s any peeling paint or flaking finish, use a utility knife or scraper to remove it. This will give you a clean surface to work with and ensure that your new coat of paint or stain will adhere properly.
- Fill in Cracks and Holes. For smaller cracks and holes, apply wood filler or epoxy using a putty knife. Smooth it over the damaged areas, and let it dry according to the manufacturer’s instructions. If there are larger gaps or deep cracks, you may need to apply multiple layers of filler, allowing each to dry before adding more.
- Sand the Surface. Once the filler is dry, use medium-grit sandpaper to smooth out the repaired areas. After that, switch to fine-grit sandpaper for a smoother finish. Sand in the direction of the wood grain to avoid scratching the surface. Sanding creates a perfectly smooth surface that will look flawless once painted or stained.
- Prime and Paint or Stain. After sanding, apply a coat of wood primer to seal the surface and improve adhesion. Once the primer has dried, you can paint or stain the sill to match the rest of your window frame. This will not only restore the appearance but also protect the wood from future damage. Choose a weather-resistant paint for extra durability.
Preparing the Area and Protecting Surrounding Surfaces
- Cover the Floor: Use a drop cloth or plastic sheeting to protect your flooring from any dust, paint, or debris.
- Tape Off Surrounding Areas: Use painter’s tape to mask off the window frame and walls to avoid getting filler or paint on them.
- Ensure Ventilation: Open the windows or use a fan to make sure the area is well-ventilated, especially if you’re using strong chemicals like paint or wood filler.

Removing Damaged Sections of the Window Sill
- Cut Away the Damaged Wood: Use a saw or utility knife to carefully remove the damaged section.
- Measure and Cut New Wood: Measure the length of the damaged part and cut a new piece of wood to fit.
- Attach the New Wood: Use wood glue and nails or screws to secure the new section in place.
Cleaning and Prepping the Surface for Repair
Before filling holes and cracks, clean the surface thoroughly. Wipe away any dirt, dust, or debris, and let the surface dry completely. This will ensure that your filler adheres properly to the wood.
How to Fill and Patch Small Holes and Cracks
For small holes, cracks, or gouges in the wood, use wood filler or epoxy. Apply the filler with a putty knife, smooth it out, and allow it to dry before sanding it down to a smooth finish.
Sealing and Waterproofing the Window Sill to Prevent Future Damage
Once the repairs are done, it’s time to protect your newly restored sill from future damage. Apply a high-quality sealant or caulk to create a waterproof barrier. This will help prevent moisture from seeping into the wood and causing further harm.
Painting or Staining Your Window Sill for Protection and Aesthetic Appeal

How to Extend the Lifespan of Your Wooden Window Sill
Taking proper care of your window sill can help it last longer. Regular cleaning, sealing, and repainting are key. Make sure to inspect the sill annually for any signs of damage, and address any issues right away before they escalate.
Expert Tips for Achieving a Professional Finish
- Use High-Quality Materials: Don’t skimp on filler, paint, or sealant. High-quality materials last longer and provide a more durable finish.
- Take Your Time: Rushing through the repair process can result in sloppy work. Take your time with each step for a smoother, more polished result.
- Practice Precision: If you’re working with detailed woodwork or custom trim, precision is key. Measure and cut carefully for a seamless fit.
Conclusion
Repairing a damaged wooden window sill might seem intimidating, but with the right tools and a bit of patience, it’s a totally doable DIY project. Whether it’s small cracks or water damage, you can restore your window sill to its former glory with just a few simple steps. Not only will your window look better, but your home will benefit from better protection against the elements. So roll up your sleeves and get to work—you’ve got this!
Frequently Asked Questions
Quick answers to common reader questions, drawn directly from real search intents.
For sills with rot smaller than 30% of total surface, the DIY repair is: (1) probe with screwdriver to map all soft wood, (2) chisel out rotten material until you hit hard wood, (3) brush in epoxy wood consolidator and let cure 12 hours, (4) fill voids with two-part epoxy wood filler, (5) sand smooth, prime, and paint with exterior-grade primer + paint. Total cost: $40–$80 in materials, plus 4–6 hours of labor across two days. Anything more than 30% rot warrants full sill replacement.
Repair when rot is localized (<30% of sill), the underlying frame is sound, and the window itself is under 30 years old — typical repair cost $80–$250 DIY, $250–$500 by pro. Replace when rot extends into the frame, multiple sills are affected, or you see daylight through gaps. Full sill replacement runs $400–$900 per window, plus possible casing rebuild. In Ohio, freeze-thaw cycles often hide rot under paint — always probe before deciding.
DIY rot repair with epoxy: $40–$80 in materials per window. Professional repair (typical Window Gurus job in Columbus): $250–$500 per sill including epoxy, prep, primer, and exterior paint matched to existing trim. Full sill replacement: $400–$900. Multi-window jobs reduce per-window cost by 15–25%. Insurance rarely covers gradual rot, but does cover sudden damage (storm-driven rot acceleration).
Yes — three-step prevention works for 10–15 years: (1) strip all old paint and apply two coats of borate wood preservative (Bora-Care or similar), (2) prime with oil-based exterior primer, (3) topcoat with two coats of 100% acrylic exterior paint, refreshing every 4–6 years. Also re-caulk the sill-to-siding joint annually, ensure the drip edge slopes away from the house, and install drip kerfs (saw cuts on the sill underside) to break water tension.
Epoxy repair: 1–2 hours of active work plus 12–24 hours of curing across 2 days. Full sill replacement: 3–5 hours per window for a pro, including paint match, or a full weekend for DIY. Multi-window restoration projects on Ohio Victorian and Craftsman homes typically run 1–2 weeks for 6–10 sills, depending on weather windows for paint cure.
Ready to fix your windows? Get a free quote in 30 seconds.
Family-owned, licensed & insured. Most quotes delivered the same day.


