Cracked glass disrupts your home’s comfort, security, and energy efficiency. This guide walks you through assessing damage, choosing between DIY fixes and professional help, and preventing future cracks. You’ll learn which repairs you can handle yourself, when to call experts, and how to protect your investment in windows and glass surfaces.
Quick Decision Guide: Should You DIY or Call a Professional?
Handle it yourself when the crack measures under 6 inches, stays on the surface layer, and doesn’t branch into multiple directions.
DIY Repair is Likely an Option If…
Simple chips from gravel or small linear cracks in side windows fit this category. The damage shouldn’t obstruct visibility or weaken structural integrity.
At Window Gurus, I’ve seen homeowners successfully repair tiny edge cracks in basement windows using basic resin kits, extending window life by 5-7 years without replacement costs. One Cincinnati client fixed a 4-inch crack in their garage window for $25; the repair held through three Ohio winters.
Call a Professional Immediately If…
Professionals step in when cracks exceed 12 inches, show multiple branches, or reach the glass edge. These patterns spread rapidly under thermal stress or vibration, risking complete breakage. Edge cracks compromise the entire pane’s structural stability.
Historic buildings require expert care. I once evaluated a Victorian home in Columbus where the owner ignored a spreading bullseye crack in an original sash window. Water infiltrated the frame, causing $3,000 in rot damage to the wood sill and surrounding trim.
Load-bearing windows, double-pane units with seal failure, and cracks in tempered glass all demand professional assessment. Technicians have tools to measure stress points and predict failure risk.
Visual Comparison Table: DIY vs. Pro at a Glance (Cost, Time, Quality, Safety, Crack Types)
| Aspect | DIY Repair | Professional Repair |
|---|---|---|
| Cost | $10-50 (kit materials) | $100-500 (service fees) |
| Time | 1-2 hours | 1-3 hours (plus scheduling) |
| Quality | Temporary fix, may not last | Durable, seamless results |
| Safety | Risk of improper handling | Trained techs ensure no hazards |
| Crack Types | Small chips, short lines | All types, including complex stars |
This table highlights trade-offs. DIY saves upfront costs but professionals deliver longevity and invisible repairs.

DIY Glass Crack Repair: The Complete Walkthrough
Measure the crack with a ruler.
Assessing the Damage: Is Your Crack DIY-Friendly?
DIY suits damage under 6 inches that stays superficial. Use a magnifying glass to check depth; if it penetrates both layers of insulated glass, the seal has failed and DIY won’t work.
Inspect the crack’s location. Avoid DIY on cracks within 2 inches of the edge, as these weaken the entire pane. Skip repairs on tempered glass; it shatters completely when drilled or filled.
Essential Tools & Materials for a DIY Kit
Gather these items before starting:
Epoxy resin designed for glass (not household glue), applicator syringe with fine tip, curing strips or UV lamp, razor blade for scraping, isopropyl alcohol (90% or higher), microfiber cloths, and safety gloves.
Auto parts stores sell windshield repair kits that work equally well for home windows. Quality resin bonds chemically with glass, preventing moisture entry that causes haze.
Step-by-Step DIY Repair Instructions (Preparation, Application, Curing, Finishing)
Clean the cracked area with isopropyl alcohol to remove dirt, oils, and debris. Dry thoroughly with a microfiber cloth.
Position the applicator syringe at the crack’s center. Inject resin slowly, filling from the middle outward to avoid air bubbles. Apply steady, gentle pressure; overfilling creates weak spots.
Place a curing strip over the resin or position a UV lamp 6 inches above the surface. Sunlight works if you have 20 minutes of direct exposure. The resin hardens as it cures, bonding with the glass.
After curing, scrape excess resin with a razor blade held at a 45-degree angle. Work in one direction to create a smooth finish. Test the repair by pressing gently; it should hold without flexing.
Common DIY Mistakes and How to Avoid Them
Overfilling creates bubbles that weaken the bond. Inject slowly and stop when resin reaches the crack’s edges. Rushing the curing process leaves hazy spots; always wait the full recommended time, even if the surface feels hard.
Skipping the cleaning step traps dirt under the resin, creating visible lines. Clean tools immediately after use to prevent clogs in future repairs.
Debunking DIY Myths: Super Glue, Nail Polish, and Other Bad Ideas
Super glue yellows under UV exposure and cracks when temperatures shift, worsening the damage. Nail polish offers zero structural support and peels within days. Clear tape stops spreading temporarily but creates adhesive residue that complicates professional repair.
Toothpaste, baking soda paste, and other household hacks fail to bond with glass at a molecular level. Stick to specialized resins formulated for glass repair.

Professional Glass Repair: When and Why to Trust an Expert
Professionals employ vacuum injection systems that remove air from cracks before filling, eliminating weak spots.
The Professional Advantage: Advanced Technology and Techniques
UV-cured resins bond stronger than consumer-grade products, with clarity matching the original glass.
Laser-guided alignment tools ensure perfect resin placement, reducing recurrence risks. Technicians measure stress distribution across the pane, identifying hidden damage invisible to the naked eye.
The Process: What to Expect from a Professional Service
The technician arrives with portable equipment and assesses damage on-site. They clean the area with industrial-grade solvents, inject filler using calibrated pressure, and cure it under controlled UV light. The job ends with polishing for optical clarity and a strength test to verify the repair holds under pressure.
Most repairs take 60-90 minutes. The technician provides a warranty covering failure from normal use.
How to Choose a Reputable Repair Service (Certifications, Warranty, Reviews)
Look for I-CAR certification or equivalent training credentials. Check Better Business Bureau ratings; Window Gurus maintains an A+ rating with zero unresolved complaints.
Read recent reviews on Yelp, Angi, and HomeAdvisor. Pay attention to comments about punctuality, cleanup, and repair longevity. Ask about warranty terms; reputable services cover their work for at least one year.
Request a written estimate before work begins. Transparent pricing includes labor, materials, and any additional fees.
Repair vs. Replacement: When the Glass Must Be Replaced
Tempered glass shatters completely when damaged and cannot be repaired. Historic glass with irreplaceable features may warrant custom replacement to preserve architectural integrity.
Understanding the Damage: Types of Cracks and Their Risks
Chips appear as small dents from impact, usually under 1 inch in diameter.
Identifying Your Crack: Chips, Stars, Bullseyes, and Lines
Stars radiate outward like spokes from a central impact point. Bullseyes form circular patterns with a cone-shaped center, often from round objects hitting the glass.
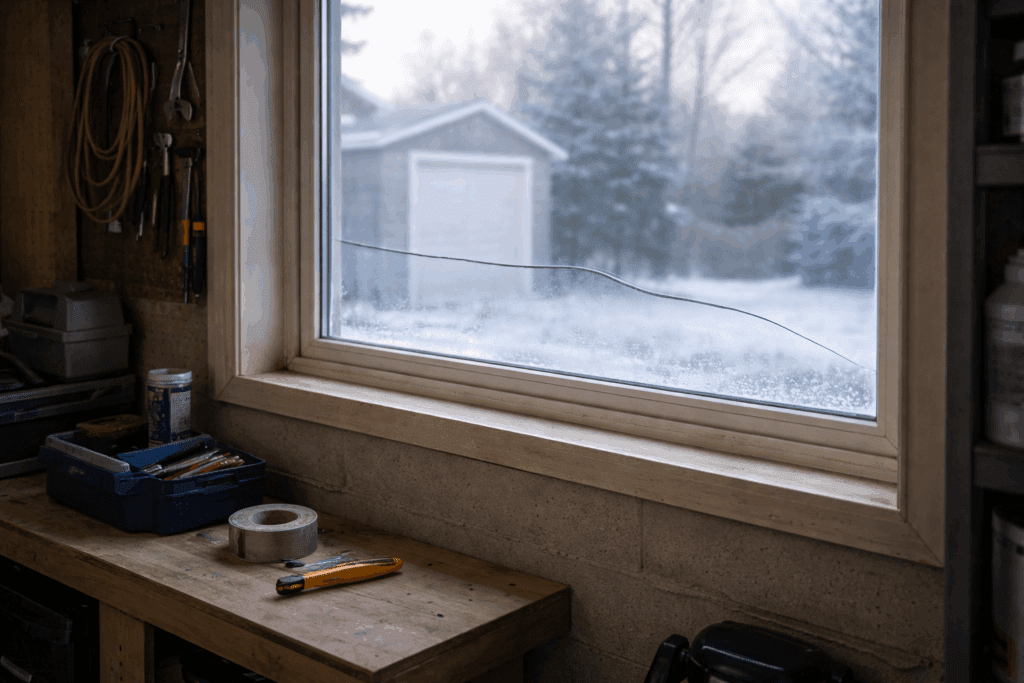
Linear cracks run straight or curved, typically from thermal stress when hot glass meets cold air. Combination cracks show multiple patterns overlapping, indicating severe damage.
Why You Must Act Fast: The Dangers of a Spreading Crack
Untreated cracks expand with vibrations from traffic, slamming doors, or temperature changes. A 3-inch crack can grow to 12 inches in a week during winter freeze-thaw cycles.
Spreading cracks invite drafts that increase heating costs. In windows, they create security vulnerabilities; burglars target cracked glass as easy entry points. Sudden shattering risks injury from flying shards.
Temporary Fixes: How to Stop a Crack from Spreading Before Repair
Drill a tiny hole (1/8 inch) at the crack’s end to relieve pressure and stop propagation. This technique works for linear cracks but requires precision; drill too close and the crack extends.
Apply clear packing tape over both sides of the crack to stabilize the glass and keep out moisture. This holds for 1-2 weeks maximum. Avoid driving or using windows with tape fixes; they’re stopgaps until proper repair.

Financial and Safety Considerations
DIY kits cost $20-40 and cover 3-5 repairs per package.
Cost Breakdown: DIY Kit vs. Professional Service
You’ll spend 1-2 hours per crack, including prep and curing time. Total investment: $30-50 for materials and your labor.
Professional services charge $150-300 per window, including materials, labor, and warranty. Historic or specialty glass adds $50-100 to the base price. Mobile service fees (if applicable) run $25-50.
Factor in opportunity cost: your time versus hiring experts. Professionals finish in 60-90 minutes with guaranteed results.
Does Insurance Cover Glass Crack Repair?
Homeowners insurance typically covers impact damage from storms, vandalism, or accidents. Policies vary; check your deductible. If the repair costs less than your deductible ($500-1000 for most policies), paying out-of-pocket makes sense.
Auto insurance in many states covers windshield repair fully, with zero deductible. Comprehensive coverage handles glass damage from road debris or weather.
Safety First: Critical Warnings for DIY Repair and Driving with a Cracked Windshield
Wear cut-resistant gloves when handling cracked glass; sharp edges cause deep lacerations. Safety glasses protect eyes from resin splashes during injection.
Never drive with vision-obstructing cracks. They impair depth perception and reaction time, increasing accident risk. For home windows, secure the area to prevent falls during repair; cracked glass breaks unexpectedly.
Avoid DIY on overhead glass like skylights; falling shards cause serious injury. Leave these repairs to professionals with scaffolding and safety equipment.

Proactive Care: How to Prevent Future Glass Cracks
Apply shatterproof films to windows in high-traffic areas or homes with children.
Protective Measures (Films, Coatings)
These polyester layers absorb impacts, preventing cracks from minor collisions. Films also block 99% of UV rays, reducing thermal stress.
UV-resistant coatings reduce expansion-contraction cycles that cause stress cracks. These treatments extend glass lifespan by 30-40% in climates with extreme temperature swings.
Safe Handling and Driving Practices
Avoid slamming doors; vibrations propagate through frames and stress glass. Close windows gently, especially older single-pane units with loose putty.
Park away from construction zones where flying debris damages glass. When driving, maintain distance from gravel trucks; stones kicked up by tires cause 60% of windshield chips.
Use soft cloths for cleaning; abrasive materials create micro-scratches that develop into cracks. Never scrape ice with metal tools; use plastic scrapers or defrosters.
The Importance of Regular Inspection
Inspect windows quarterly for early signs of damage. Catch hairline cracks before they spread, saving on major repairs. Check seals on double-pane units; condensation between layers signals seal failure requiring replacement.
Look for loose glazing putty on older windows; dried putty allows glass movement that causes stress cracks. Re-putty every 5-7 years to maintain stability.

FAQ: Your Glass Crack Repair Questions Answered

Ready to fix your windows? Get a free quote in 30 seconds.
Family-owned, licensed & insured. Most quotes delivered the same day.