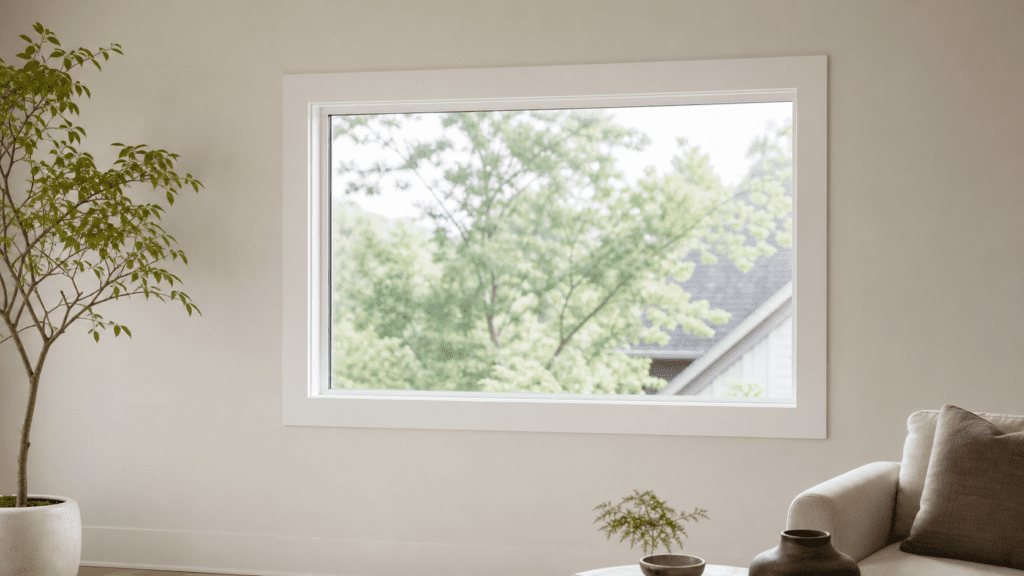
Window trim does quiet but heavy lifting in a room. It frames the view, hides the rough gap where the window meets the wall, and sets the tone for everything around it. Swap thin builder-grade casing for a wider craftsman profile and a plain room reads as finished and intentional, often for the price of a weekend and a few boards.
Trim also matters most right after the window itself changes. A fresh new window installation leaves a raw opening that needs a clean finish, and the trim is what makes the new unit look like it belongs. This guide covers the styles worth copying, which materials hold up in Ohio’s damp seasons, how to size the casing, and the two ways trim actually goes on.
Quick answer: Interior window trim frames the window and hides the gap where it meets the wall. The most popular styles are clean modern (ranch), layered craftsman, and traditional stool-and-apron casing. Pick a material that suits your climate, paint or stain it to match the room, and size the casing to the window and wall.
Trim, Casing, and Moulding: What the Words Mean
Shopping for trim throws a lot of overlapping words at you, and the labels trip up most homeowners. Moulding is the broad term for any milled strip that covers a transition between two surfaces. Casing is the specific moulding that frames a window or a door. Trim is the catch-all for the whole assembly, which is why people use the three terms almost interchangeably at the store.
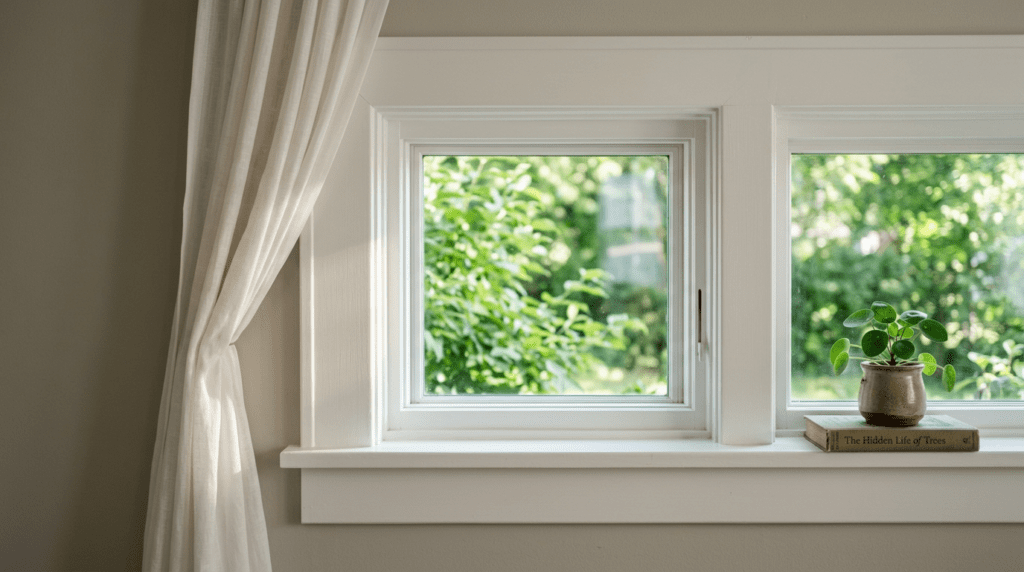
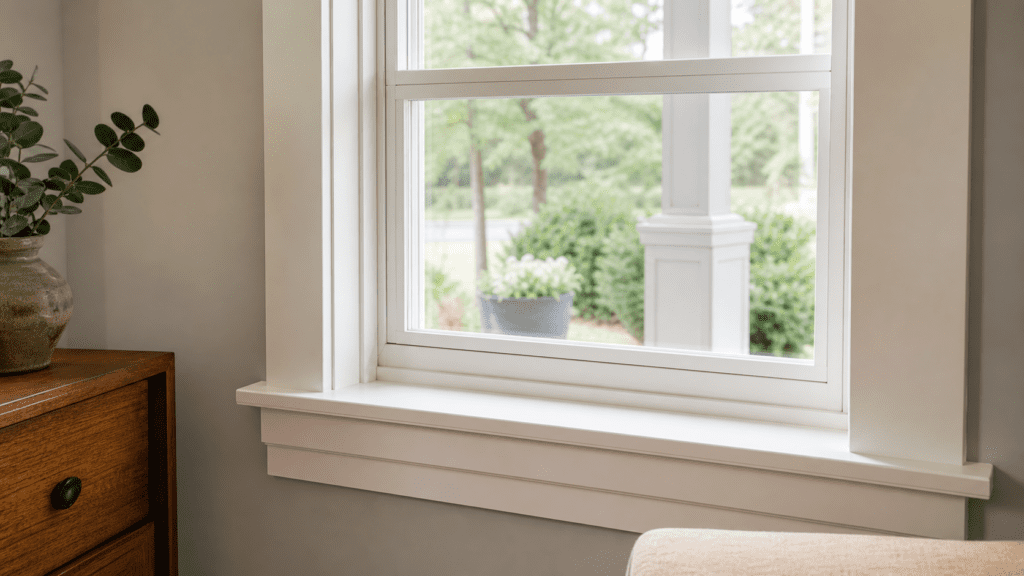
What matters more is the parts that make up a finished window. A traditional interior package has a head casing across the top, two side casings down the legs, a stool that caps the sill, and an apron tucked underneath it. Behind all of that sits the extension jamb, the strip that brings the window flush with your drywall.
- Head and side casing frame the top and sides of the opening.
- Stool is the interior shelf that rests on the sill and overhangs into the room.
- Apron is the flat board beneath the stool that finishes the bottom edge.
- Extension jamb fills the depth between the window frame and the wall surface.
The Most Popular Interior Trim Styles
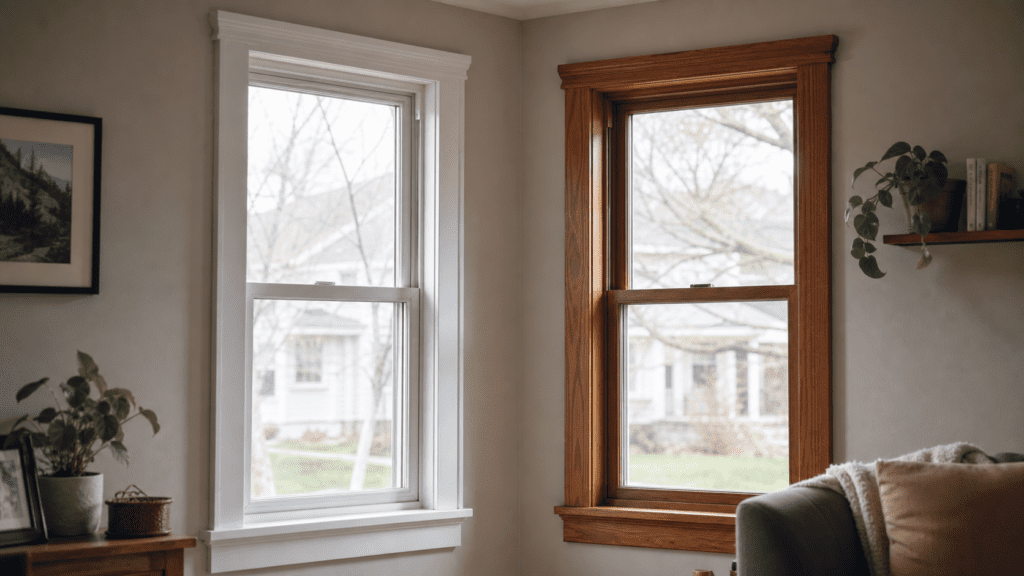
Style is where trim earns its keep, because the profile you choose has to agree with the age and feel of the house. A 1920s Columbus foursquare wants something with more shoulders than a flat builder strip, while a new-build great room often looks best with a crisp, minimal frame. Start by matching the window casing to the doors and baseboards already in the room so the whole space reads as one decision.
The styles below cover most homes. They range from almost invisible to deliberately bold, and any of them can be painted or stained. The window itself matters too: a deep casement window sits and frames differently than a flat double-hung, so let the unit guide the profile you choose.
- Modern or ranch: flat, narrow boards with simple square edges for a clean, low-key frame.
- Craftsman: wider flat casing with a thicker head and a small cap, true to the Arts and Crafts look.
- Colonial: layered, profiled casing with traditional curves for older and formal rooms.
- Farmhouse: chunky, flat stock that shows off wood grain and feels relaxed.
- Picture-frame: the same casing on all four sides, with no stool or apron, for a tidy contemporary edge.
Choosing a Trim Material That Lasts
Material is not just a budget question in this climate. Ohio swings from humid summers to freeze-thaw winters, and the wall around a window sees more temperature change and condensation than an interior partition does. The wrong material near a cold, sweating window will swell, flake, or pull apart at the joints within a few seasons.
Solid wood is still the standard for a reason. Pine is affordable and takes paint or stain well, while oak, maple, and other hardwoods give a richer grain for a stained finish. The trade-off is that bare wood moves with humidity and needs a good primer and paint film to stay stable. For rooms that stay dry and well-ventilated, wood is hard to beat.
Where moisture is a real risk, the engineered options win. The short list below sorts the common choices by how they behave around damp Ohio windows.
- Pine: budget-friendly, easy to cut, ideal for painted trim in dry rooms.
- Hardwoods (oak, maple): best for a stained, natural-grain look that resists dents.
- MDF: smooth and cheap for paint, but it swells fast if it ever gets wet, so keep it away from condensation-prone sills.
- PVC or composite: will not rot, warp, or feed mold, which makes it the safe pick for humid bathrooms and chronically damp windows.
Paint or Stain? Color Ideas That Work
Finish changes the personality of trim as much as the profile does. Crisp white is still the default for good reason: it brightens a room, makes the window feel larger, and goes with any wall color you paint later. A soft white or warm off-white keeps an older home from looking clinical, while a bright white suits clean modern rooms.
Black and deep charcoal trim has moved from trend to staple, and it does something white cannot. Dark casing turns the window into a framed picture, sharpens the line between glass and wall, and reads as modern against light or mid-tone paint. It shows dust and brush marks more, so it rewards a careful finish.
Stained wood is the move when you want warmth and grain rather than contrast. It suits craftsman and farmhouse rooms and pairs naturally with wood floors. One more idea worth trying is matching the trim to the wall in the same color but a different sheen, which gives a quiet, architectural look without any contrast at all.
Getting the Proportions Right
The single most common trim mistake is casing that is too skinny for the room. Standard casing runs roughly two and a half to three and a half inches wide, with most stock around three-quarters of an inch thick. Narrow trim can look lost on a tall window or under a nine-foot ceiling, so size up before you assume the default is right.
Proportion also means agreement across the room. Window casing usually looks best when it relates to the door casing and the baseboard, either matching their width or stepping down in a deliberate order. Wider walls and bigger windows can carry a beefier craftsman profile, while a small powder room may only want a slim modern frame.
Do not forget depth. In many older Columbus homes the walls are thicker than the window jamb, so you need an extension jamb to bring the frame flush before any casing goes on. Skip that step and the trim has nothing solid to land on, which is where wavy, gappy results come from.
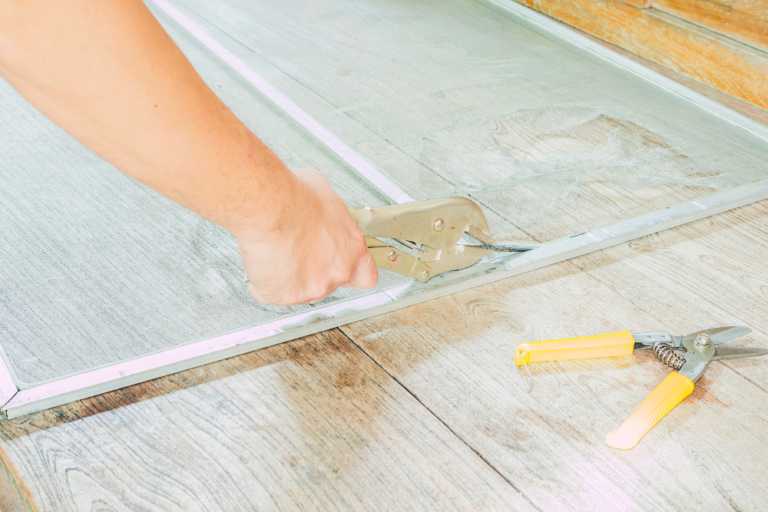
Picture-Frame vs Stool-and-Apron Install
There are two classic ways to case a window, and the choice is mostly about look and effort. The picture-frame method runs identical casing around all four sides, mitered at the corners, with no shelf at the bottom. It is clean, contemporary, and the simpler of the two to cut because every joint is the same.
The traditional stool-and-apron method keeps the shelf at the sill. The stool sits on the sill and overhangs into the room with small horns past the casing, and the apron finishes the wall beneath it. It takes more fitting, especially the notched horns, but it gives a window that classic, substantial profile that suits older homes. Older Columbus openings are often slightly out of square, so plan to scribe and shim rather than trust a tape alone.
For either method, gather the kit below before you start so a wet-saw trip does not stall the job halfway.
- Miter saw for clean corner cuts.
- Brad nailer or finish nails and a hammer to fasten the casing.
- Tape, square, and a sharp pencil for layout and reveal lines.
- Wood glue, caulk, and filler to close joints and gaps.
- Shims and a utility knife to true up an out-of-square opening.
Should You DIY or Hire a Pro?
Simple picture-frame casing on a square, modern opening is a reasonable DIY project for anyone comfortable with a miter saw. The cuts are repeatable, the material is forgiving, and a coat of paint hides small sins. If your walls are true and the windows are new, this is a satisfying weekend job.
The work gets harder fast when the house fights back. Out-of-square openings, thick plaster walls that need custom extension jambs, stained hardwood that shows every gap, and intricate colonial profiles all reward experience. Stained trim in particular is unforgiving, since you cannot caulk your way out of a sloppy miter the way you can with paint.
Cost comes down to a few drivers rather than one number: the material you choose, how many windows you are doing, whether the openings need new jambs or squaring, and the complexity of the profile. When the trim is part of a larger window project, folding it into that work is usually cleaner than treating it as a separate task.
Ready to Finish Your Windows the Right Way?
New trim looks its best over a window that is square, sealed, and sound, and that is exactly what gets overlooked when casing is treated as an afterthought. If your openings are out of square, the old frames are tired, or you are pairing trim with replacement windows, it pays to get the whole job lined up first.
Book a free, no-pressure window assessment with our Columbus and Cincinnati team and get a straight answer on what your windows and trim actually need.
FAQ: Interior Window Trim

Ready to fix your windows? Get a free quote in 30 seconds.
Family-owned, licensed & insured. Most quotes delivered the same day.