A scratch across a sheet of plexiglass feels permanent, but acrylic is soft enough that most marks polish right out at the kitchen table. Unlike glass, plexiglass and acrylic are plastics, so the same softness that lets them scratch easily is what lets you sand and buff a scratch back to clear. The trick is matching your method to how deep the scratch actually is.
This guide covers how to tell a light scratch from a deep one, the polish method for surface marks, wet-sanding for the gouges, and the mistakes that frost a panel instead of clearing it. For cracked or fogged panes that no polish will save, our glass repair team can tell you what is worth fixing.
Quick answer: For light scratches, clean the acrylic, rub in a plastic polish or a dab of non-gel toothpaste with a microfiber cloth in small circles, then buff clear. For deep scratches, wet-sand with progressively finer grit from around 600 up to 2000, then polish. Scratches you can catch a fingernail in may never fully disappear.
First, Know What You Are Polishing
Plexiglass is a brand name that has become shorthand for cast or extruded acrylic, the clear plastic used in storm windows, picture-frame glazing, shed and garage windows, and DIY storm-door panels. It is the plastic this guide is built around, because acrylic responds well to polishing and light sanding. If you are not sure what you are dealing with, our primer on what plexiglass actually is sorts out the names.
There is one plastic you should identify before you touch it with sandpaper: polycarbonate, sold as Lexan. It looks almost identical to acrylic but is far more impact-resistant and is often coated with a thin abrasion-resistant film. Sanding or aggressive polishing strips that coating and leaves a permanent haze you cannot buff out, so polycarbonate scratches are best left to a gentle plastic cleaner, not the wet-sanding steps below.
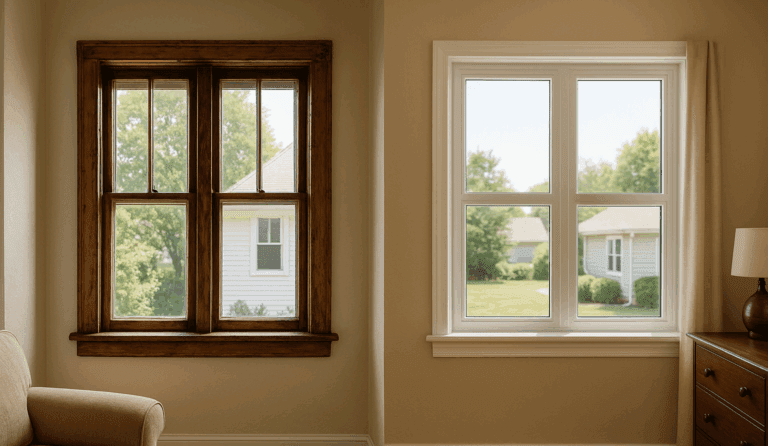
A quick way to guess which you have: acrylic rings with a higher pitch when tapped and cracks more readily, while polycarbonate flexes without breaking. When acrylic is the right material for the job, our overview of plexiglass windows covers where it earns its place around the house.
How Deep Is the Scratch? The Fingernail Test
Every repair decision starts with one question: how deep is the damage? The fastest gauge is the fingernail test. Drag a nail lightly across the scratch, perpendicular to it. If your nail glides over without catching, the scratch is light and surface-level. If it snags slightly, you have a moderate scratch. If the nail drops into a groove, it is deep.
Light scratches sit only in the top layer and usually vanish with polish alone. Moderate scratches need a little abrasion, typically fine sandpaper followed by polish. Deep scratches reach far enough into the acrylic that you are removing real material to level them, and even then a faint shadow can remain where the plastic has been reshaped.
This matters because using a deep-scratch method on a light mark creates more work and more risk. Wet-sanding a hairline scratch just clouds a wide area that you then have to polish back to clear. Test first, match the method to the depth, and you save yourself an afternoon of buffing.
What You Need to Remove Scratches
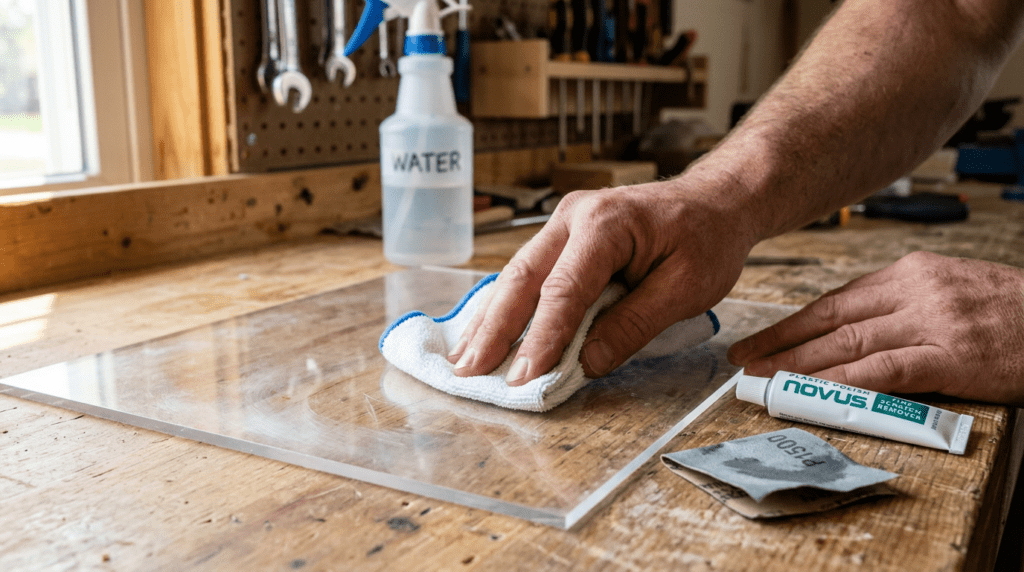
The supplies are cheap and most are already in the house. The two things worth buying if you do this often are a quality plastic polish made for acrylic and a small range of wet/dry sandpaper. Everything else you can improvise from the cleaning cupboard.
Lay it all out before you start, because wet-sanding works best when you can move from grit to grit without stopping to hunt for the next sheet.
- Microfiber cloths and mild dish soap to clean the surface first.
- Plastic or acrylic polish (a non-gel white toothpaste works for light marks in a pinch).
- Wet/dry sandpaper in a range of grits, roughly 600, 800, 1200, and 2000.
- A spray bottle of water to keep the surface wet while sanding.
- A foam sanding block so pressure stays even across the scratch.
- An optional rotary buffer with a soft pad for finishing larger panels.
How to Buff Out Light Scratches
For a light scratch, polishing alone does the job, and it is genuinely a five-minute task. The point is to use a mild abrasive to wear the surrounding surface down level with the bottom of the scratch, so always start by cleaning, since a single grain of grit under your cloth will cut fresh marks as you work.
Work in a shaded spot rather than direct sun, which dries the polish too fast and makes it hard to read your progress. Use light pressure and let the polish, not your arm, do the cutting.
- Clean the surface. Wash with mild soapy water and a microfiber cloth, then dry, so no grit is dragged into the plastic.
- Apply the polish. Put a small amount of plastic polish or non-gel toothpaste on a clean, damp microfiber cloth.
- Rub in small circles. Work over the scratch with steady, light pressure for thirty to sixty seconds.
- Wipe and inspect. Buff off the residue with a dry cloth and check the scratch in good light.
- Repeat as needed. Two or three passes clear most surface marks; if there is no change after several, the scratch is deeper than it looked.
Tackling Deep Scratches with Wet Sanding
When a scratch catches your nail, polish alone will not reach the bottom of it. You have to remove a thin layer of acrylic across the area until the surface meets the floor of the scratch, and that means sanding. Done carefully and wet, sanding restores clarity; done dry or impatiently, it ruins the panel.
Keep the surface and the paper wet the entire time. Water floats away the plastic dust that would otherwise clog the grit and re-scratch the surface, and it keeps friction heat from softening the acrylic. Start with the finest grit that will cut the scratch, often around 600 for a deep one, and sand in steady, even strokes.
The mistake we see most often is people stopping after the coarse grit because the scratch is gone. The scratch is gone, but the sandpaper left a thousand tiny ones in its place. You have to climb through the finer grits to clear those before any polish will bring back the shine.
Work up through the grits in order, 600 to 800 to 1200 to 2000, turning your sanding direction ninety degrees with each step so you can see when the previous scratches are gone. By 2000 grit the surface should look uniformly frosted and ready to polish.
Polishing Back to Clarity
After sanding, the acrylic looks hazy and worse than when you started. That is expected. The frosted finish is just a field of microscopic scratches left by the 2000-grit paper, and polishing now collapses them back into a clear surface.
Apply a generous amount of plastic polish to a clean cloth or a soft buffing pad and work it over the sanded area in overlapping circles. On a large panel a variable-speed rotary buffer speeds this up, but keep the speed low and the pad moving. Holding a spinning pad in one spot builds heat fast, and acrylic that overheats will burn, blister, or warp into a permanent cloudy patch.
For the same reason, skip the flame-polishing and heat-gun tricks you may see online unless you have practiced on scrap. They can produce a glass-clear edge in skilled hands, but on a visible panel they more often leave ripples and scorch marks. Patient polishing gets a home repair most of the way to invisible without the risk.
Mistakes That Make Scratches Worse
Most failed acrylic repairs come from a handful of avoidable errors, and nearly all of them trade a minor scratch for a wide, cloudy patch. Run through this list before you start, because the damage from these is harder to undo than the scratch you began with.
The theme is patience and the right materials. Acrylic is forgiving only if you respect how soft and heat-sensitive it is.
- Using glass cleaner or ammonia products, which dry out acrylic over time and cause fine surface cracks called crazing.
- Wiping a dusty panel with a dry paper towel, which grinds grit across the surface and adds scratches.
- Dry-sanding, which overheats the plastic and clogs the paper, gouging more than it removes.
- Skipping grits, jumping from coarse straight to polish and leaving sanding haze that will not buff out.
- Pressing too hard with a powered buffer, which burns a permanent blemish into the surface.
When a Scratch Cannot Be Fixed
Some damage is past polishing. A scratch deep enough to see daylight through at an angle, a gouge that distorts what you see through the panel, or a network of crazing cracks means you are chasing optics the plastic can no longer hold. At that point you are sanding away so much material that the panel thins and weakens.
Safety glazing is its own line not to cross. If the acrylic is doing a structural or protective job, such as a storm-door panel, a pool enclosure, or a guard over machinery, a heavily sanded section may no longer be sound. Replacing the panel is the right call when strength matters more than looks.
It also helps to know what you are not dealing with. Real glass scratches behave very differently and rarely polish out at home, as our guide to removing scratches from glass explains. If a window pane rather than an acrylic sheet is the problem, that is a glass repair, not a plastic one.
Scratched Glass or Plastic You Cannot Save?
If a panel is too deeply scratched, cracked, or fogged to bring back, polishing it further only wastes an afternoon. A quick look usually tells whether a clear acrylic sheet or an insulated glass unit is the smarter replacement.
Book a free, no-pressure glass and panel assessment with our Columbus-area team and get a straight answer on whether it is worth restoring or time to replace.
FAQ: Removing Scratches from Plexiglass

Ready to fix your windows? Get a free quote in 30 seconds.
Family-owned, licensed & insured. Free, no-obligation quotes.